

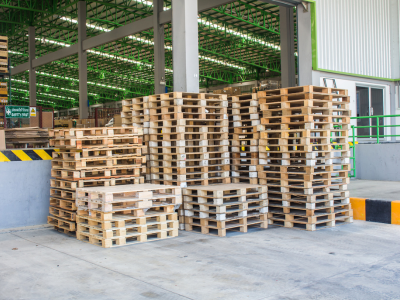
 Thankfully, pallets are used pretty much everywhere. Almost every business, store and warehouse that receives deliveries by truck will likely have a stack of pallets somewhere. Just ask a manager or store owner if you could have a few, and more than likely, they’ll be glad to get rid of them. Recently, I asked a warehouse manager for a few old pallets and ended up with nearly a 100 of these wooden beauties.
This project will require five pallets. Ideally, the pallets should be of similar size and shape. However, if that’s not the case, no worries. Set aside the smallest of the pallets for the bottom of the compost bin.
It is also good to make sure that the pallets are not chemically treated to withstand moisture. This is easily done by looking on the pallet for a stamp with the letters “HT.” The HT stands for “heat treated” or kiln dried wood, which contains no harmful chemicals that could contaminate your future compost.
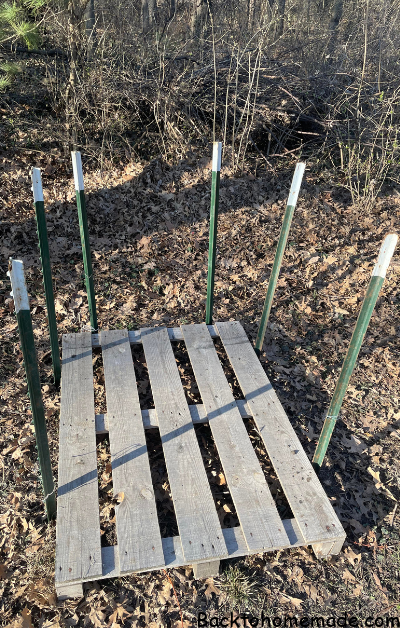 After you have gathered your pallets, it’s time to start setting the fence posts. First, place a pallet down on the ground positioned where you want the compost bin to be.This pallet will be the bottom of the bin. If you have one that is smaller than the others, use it for your bottom pallet.
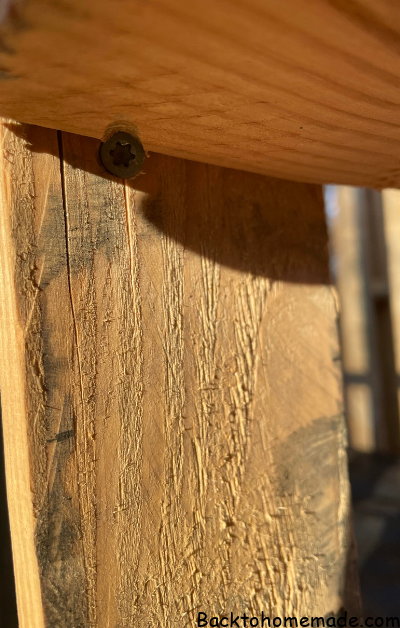
Next, the fence posts will have to be set into the ground. The left, right and rear of the bin will receive two posts a piece. Space the posts far enough apart so that when you set up the pallet walls for the sides, the fence posts will sit inside the cutouts in the pallet intended for a forklift’s fork. Drive the fence posts down to be flush with the top of the pallets that will be used for the sides and rear.
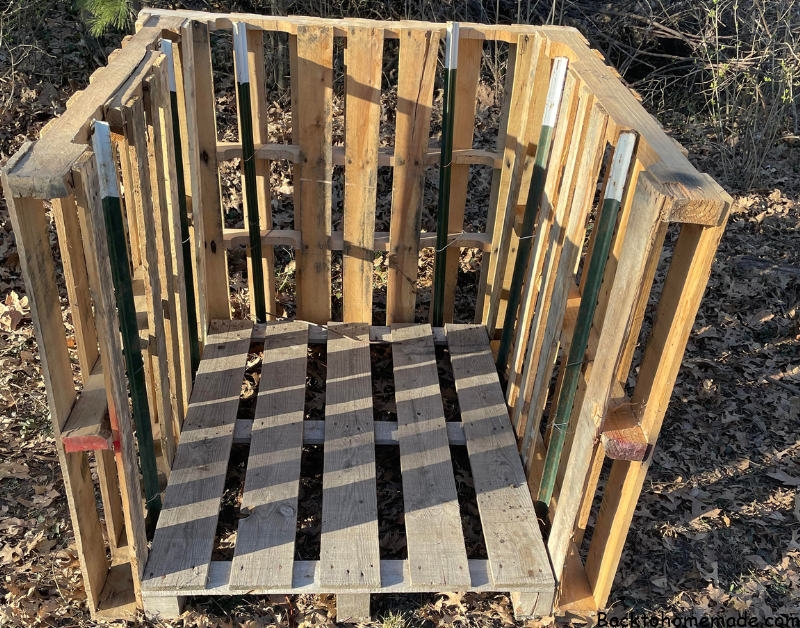
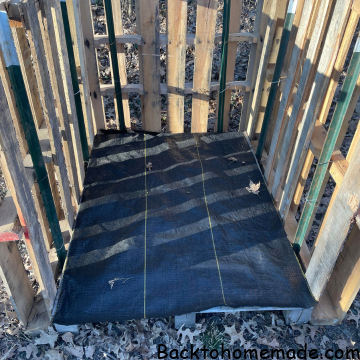 Before putting the front of the compost bin on, line the bottom pallet with landscape fabric. The landscape fabric serves two purposes. It keeps the compost from seeping between the pallet slats, while also preventing roots from nearby trees from finding their way into your bin. Cut off any excess fabric or run it up on the sides of the bin.
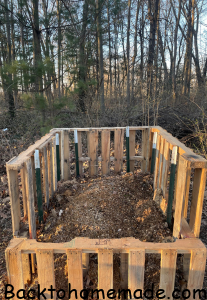
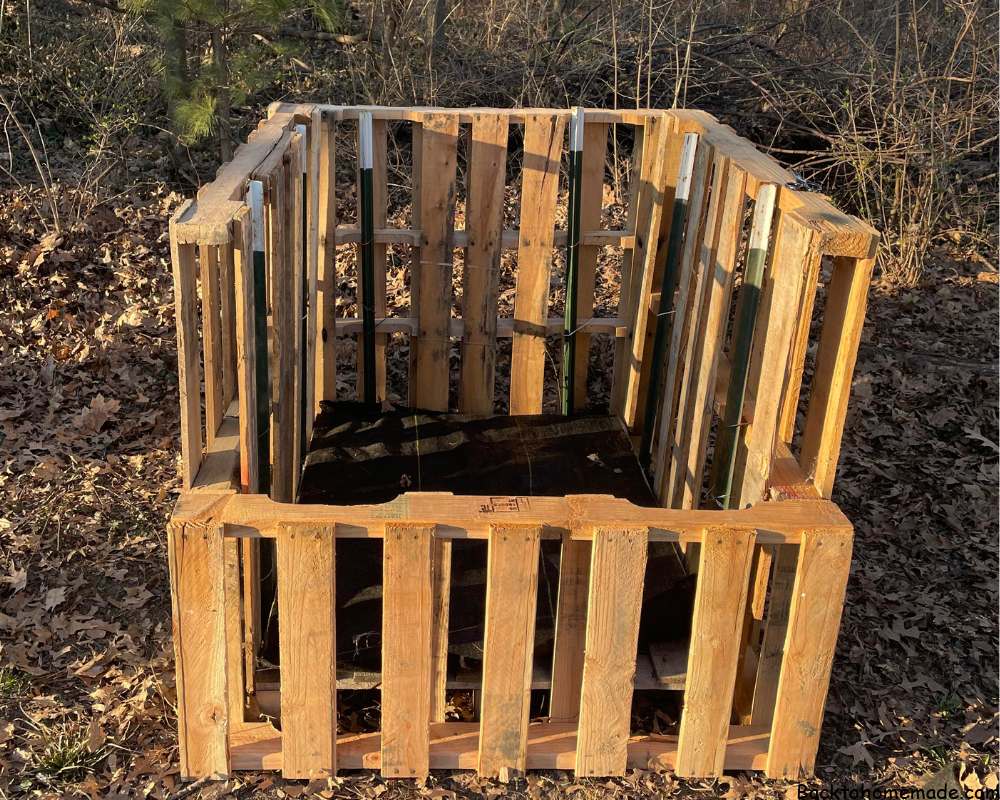
 Your new compost bin is almost done. All that’s left is to attach the front pallet. For this compost bin, the front pallet is actually only half a pallet. I find this handy for a couple of reasons. First, cutting the front pallet in half puts it at the perfect height for a wheel barrel. This is good for both putting organic matter into the bin to be composted and and for removing finished compost and hauling it out to the garden. Secondly, the lower front makes it a lot easier to turn over the compost pile periodically.
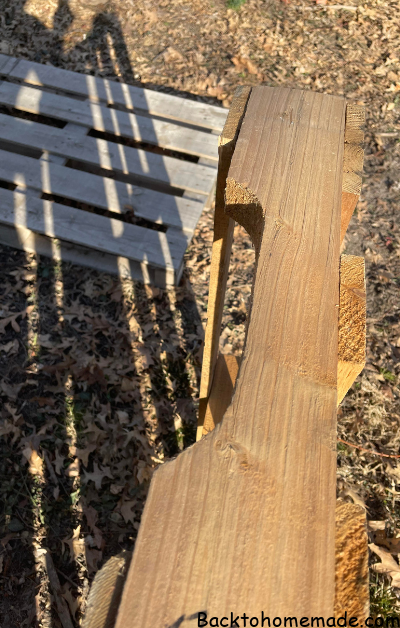
To cut the pallet down for the front of the bin, locate the middle stud inside of the pallet. Next, using a saw, cut along one side of the middle stud on both sides of the pallet. The part of the pallet still containing the middle stud will become the front side of your compost bin.
Lastly, secure the front side of the pallet by screwing it to the side pallets of the bin. Try to screw the front pallet into the middle and bottom studs of the sides. This will give you a very secure front side that can handle a full wheel barrel of compost material being poured over it.
 Congratulations on your new pallet compost bin! All that’s left now is to put it to use. If you are new to composting, then let me give you a few pointers. A good deal of lawn debris and kitchen scraps can be composted. If you have rabbits or some other herbivore pets, their litter and dropping can be composted as well. Never, however, place any meat products or waste from meat-eating animals in your compost pile. The compost will not get hot enough to kill off the harmful bacteria contained in this type of material, plus your bin will get pretty stinky really quick.
Try to have a good mixture of plant material in your compost bin, and periodically turn over the pile with a pitch fork. This helps break down the pile evenly and speed up the composting process.
Happy Composting!!!


1 thought on “Easy DIY Pallet Compost Bin”