 Used pallets are pretty much everywhere. Nearly every retail store, lumber yard and warehouse receive shipments of goods on pallets. Ask around and you should be able to find free pallets pretty easily. For me, I noticed huge stacks of old pallets outside of a warehouse. I talked to the warehouse manager, and he was more than happy to give me as many pallets as I could handle. Turns out, he had no way of getting rid of them aside from throwing them into a dumpster.
Try to find pallets that are similar in size, as it makes for less cutting. If that’s not possible, no biggie. The extra wood can be used for building pallet planter boxes.
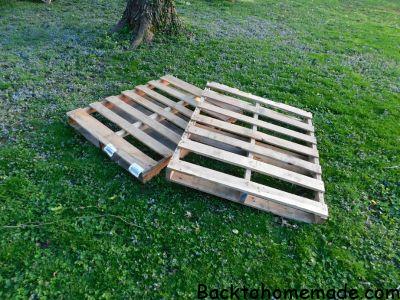
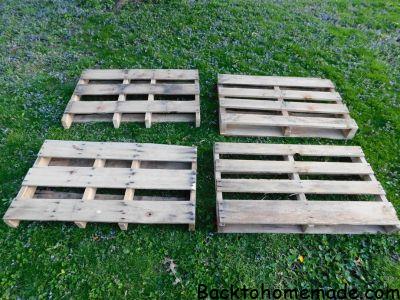 Standard wooden pallets are typically 48″ long and 40″ wide, but you may find some that vary in size based on what they are used for. If your pallets are similar in size, measure to the middle of the pallet (typically 24″). After you’ve measured, cut in the direction of the slats on top of the pallet, removing any nails that may be in the way. The easiest way to cut the pallets is to use a circular saw set at its deepest setting. You may have to turn the pallet over and cut through the bottom as well.
If your pallets are not equal in size, measure halfway on your smallest pallet and cut it in half. Next, cut your larger pallet into two equal portions that match the cut pieces of the smaller pallet. Save the excess wood left over for future projects.
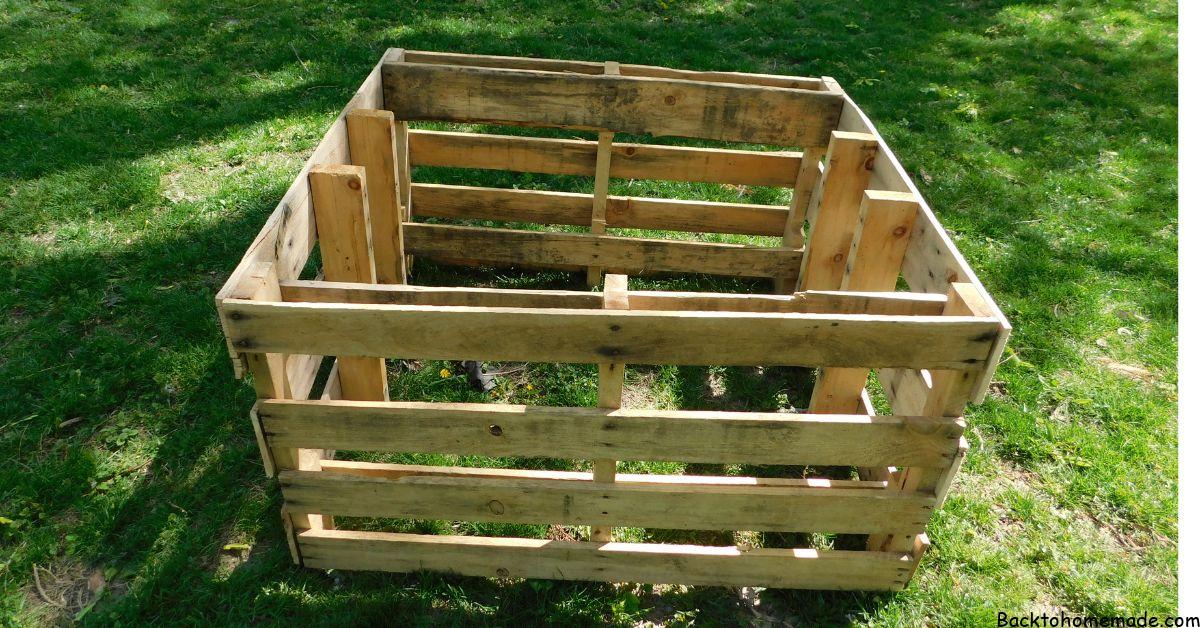
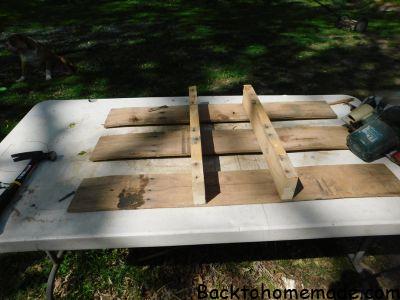 Next, take two of your cut pallet pieces, trim the outside studs off using your circular saw. Once the outside studs have been removed, you can then use a hammer and/or pry bar to remove the bottom slats (the bottom of the pallet is the side with fewer slats). I like to save these extra slat pieces and studs for building tabletop planters and other household projects.
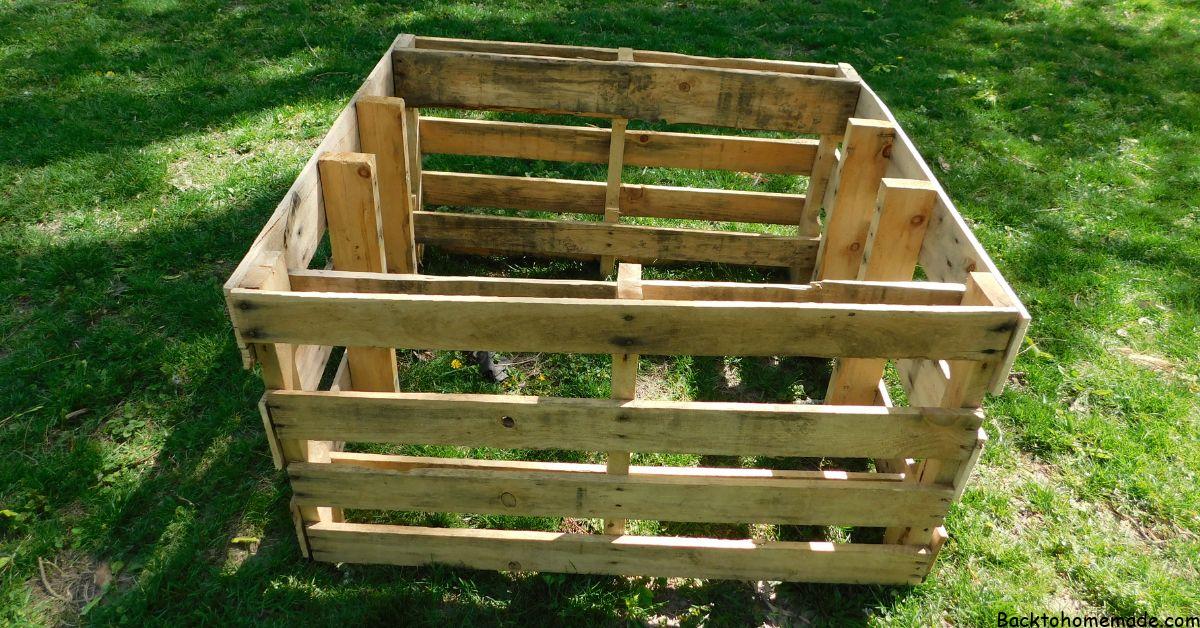
 The last step needed to get your garden bed ready for soil and garden plants is to line the inside of the box with heavy felt or contractor-grade landscape fabric. This is available at most landscape supply stores and on Amazon. It’s important not to go cheap with the liner. Thin, cheap landscape fabric is not designed to last for years out in the elements. The goal is to build something that will last for many growing seasons to come.
Trim the landscape fabric to line the inside of the garden bed from top to bottom. Next, secure the fabric to the garden bed with a staple gun. Once the fabric has been secured to all four sides, you’re ready for soil. Fill your new garden bed to the top with fresh garden soil, and your garden bed is complete and ready to go.
(Note: Some gardeners prefer to fill the bottom half of their raised garden bed with mulch in order to improve drainage. Pallet garden beds are perfectly suited for this technique.)
Happy Planting!


3 thoughts on “DIY Pallet Raised Garden Bed”