


 Next, tilt the page up a bit by putting something underneath it. We hung ours on a glass door and I just held it out a bit, sometimes using a covered book to prop it up. Having your paper at a slight angle will help the wax move slower. Cover your area with newspaper.
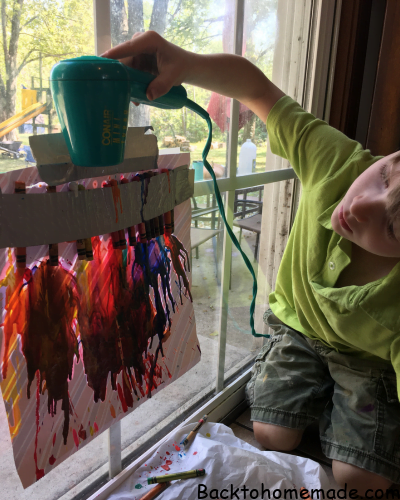
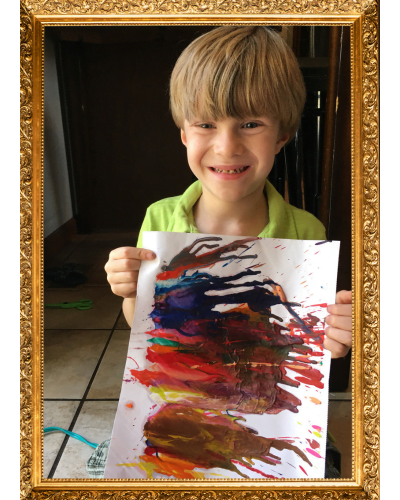
Turning your blow dryer on low, start at the top and slowly move it back and forth across your row of crayons. Soon, they will start to melt and run down your paper. Now you can get creative and mix different colors by applying more or less heat.
There are no rules! Have fun with your art! If you’re helping a child, make sure they know how to work a blow dryer and do not burn themselves. Check out our example video below!


4 thoughts on “Melting Crayon Art”