What is it?
Here is a fun, making your own lava lamps project to help you learn/teach about density. We got this project idea from our “Exploring Creation with Chemistry and Physics” course textbook by Apologia.” This is an easy experiment and though they don’t light up like real lava lamps (like one of my kiddos was expecting), the effect is still pretty cool.
What you need:
- 3 tall, thin plastic bottles with caps like the ones pictured.
- water (or vinegar)
- a bottle of vegetable oil
- food coloring (at least 3 colors)
- A box of Alka-Seltzer tablets
- Safety googles (optional)
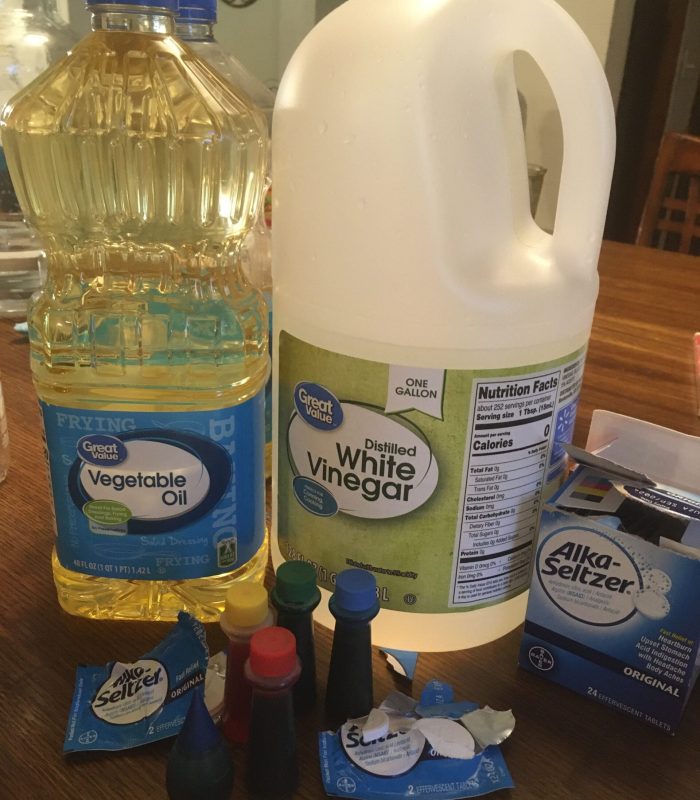
Instructions:
- Fill up each bottle halfway with vegetable oil. You may need to remove labels from the bottles, we tried to do this but there was a very sticky mess underneath that we couldn’t get off the bottle, making it hard to handle. Luckily our labels didn’t prevent us from viewing the experiment.
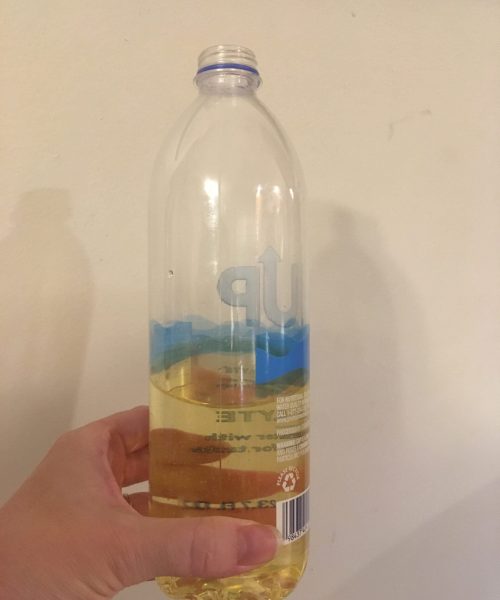
2. Fill the bottles the rest of the way with vinegar.
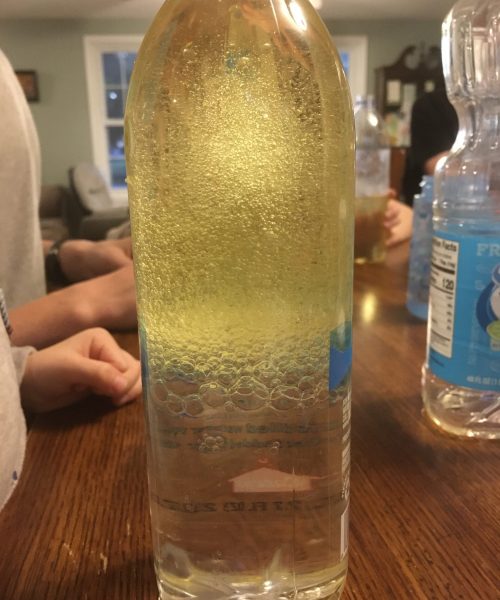
3. Next, squeeze 3 drops of food coloring in the bottles. (Use a different color for each bottle.) Some of my kids mixed a few dyes to form different colors.
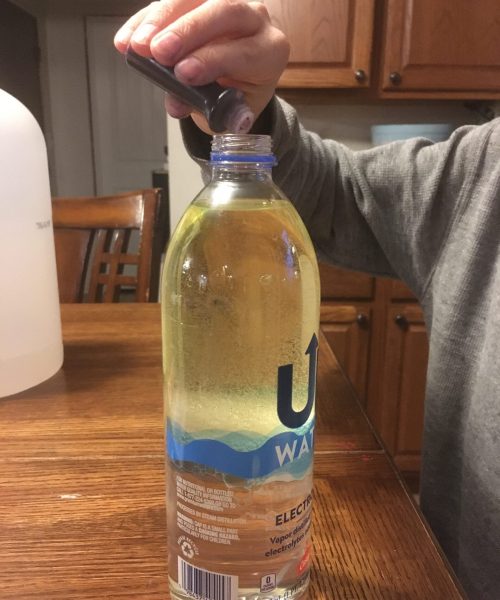
4. Now shake each bottle well to allow the dye to color the water, then set the bottle down and wait a few minutes for the layers to separate back into two distinct layers.
5. Once your bottles have settled, drop one Alka-Seltzer tablet into each bottle and immediately place caps back on the bottles to prevent the lava from overflowing. (We had to break our tablets in half to get them to fit into our bottles.)
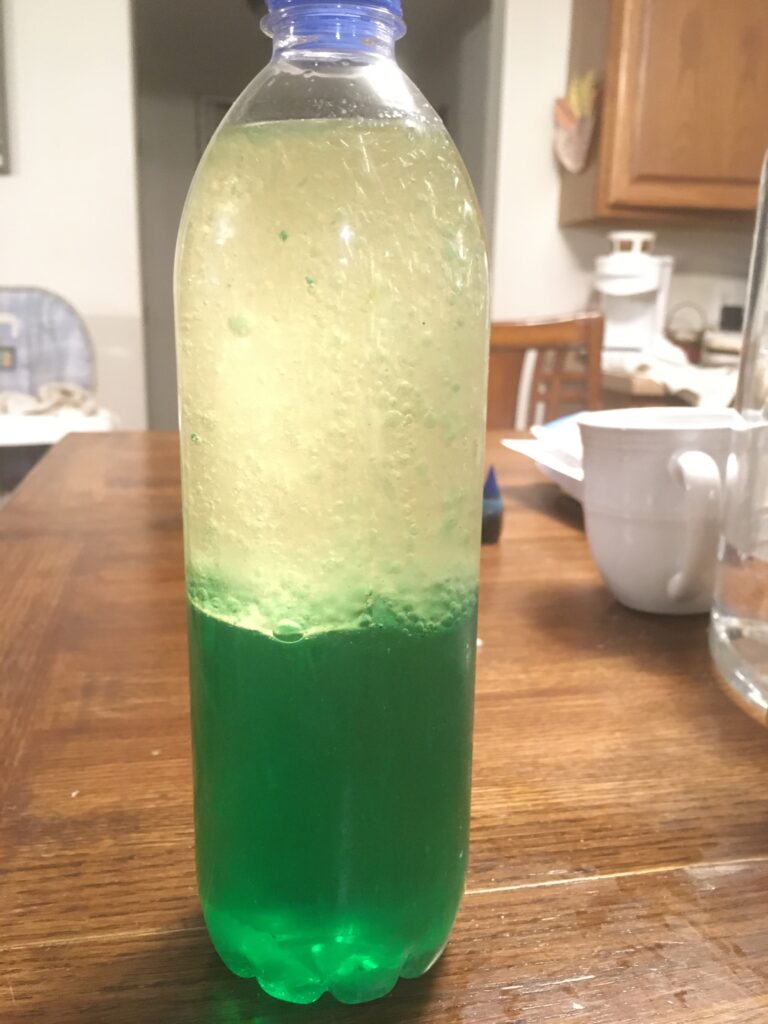
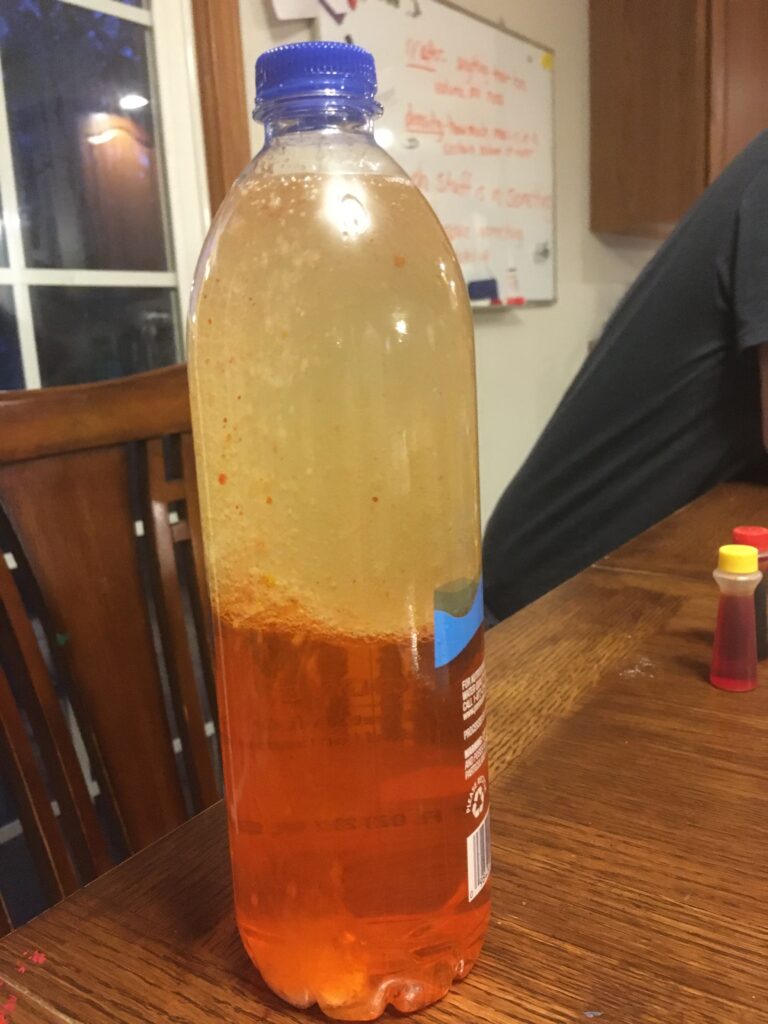
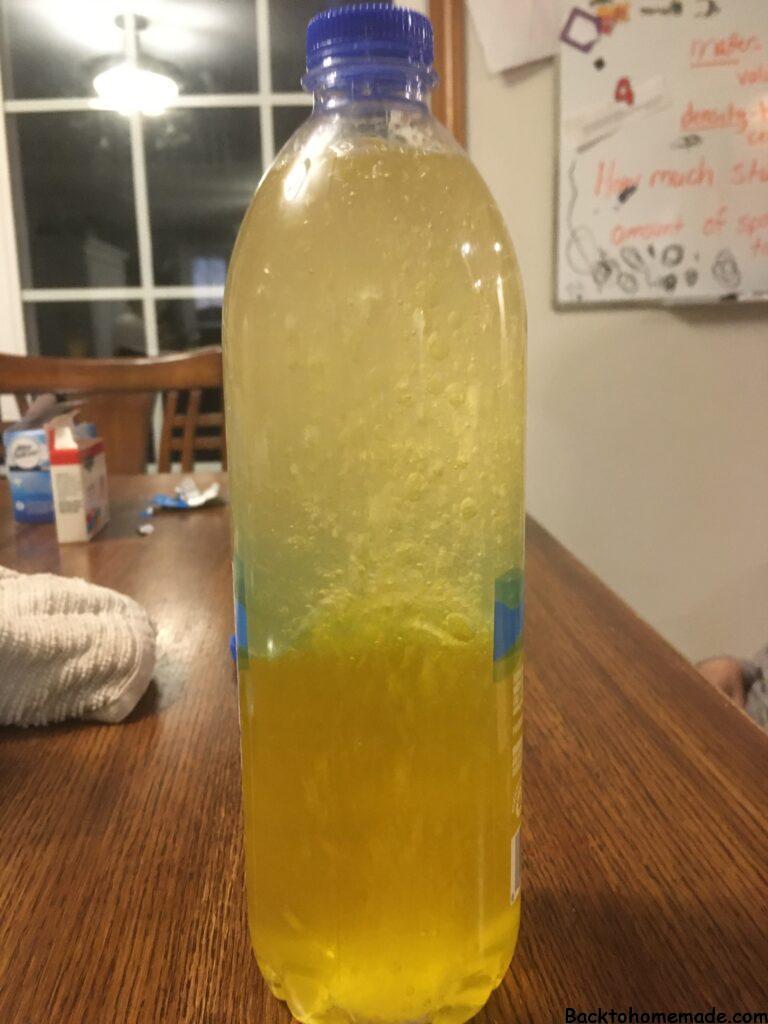
Happy Learning!
This project idea is from lesson 1 of our “Exploring Creation with Chemistry and Physics” by Apologia textbook.



3 thoughts on “Lava Lamps Project”